
Programmatic screenshot captures are often used to automate social media campaigns and produce directories of website content. Using a screenshot is more reliable than downloading a copy of the website's HTML, CSS, and JavaScript. You get to see the page's visuals as they were at the time of the capture, without being dependent on third-party embeds remaining live on the internet.
There are many different ways to generate screenshot captures yourself. Most techniques rely on some knowledge of JavaScript. Web browsers execute JavaScript code, and their remote control mechanisms rely on JavaScript interfaces. This complicates matters for backend developers who may be inexperienced with directly controlling a browser.
In this article, we're focusing on capturing screenshots from the perspective of a PHP developer. We'll look at four different ways in which you can produce high-quality captures, including methods which require no JavaScript knowledge. All the sample code shown below is available in this article’s GitHub repository.
Use Cases
Screenshot generation that's initiated by a PHP application can have several roles in an application. It's most common to find the process integrated into automated workflows that need to store web content for the future.
Screenshot captures can take several seconds to complete. You might have a requirement that new URLs added to your database are captured in a background task. Having your PHP backend initiate the capture lets users continue their work elsewhere while the screenshot is queued, produced, and uploaded to your storage provider.
Alternatively, you might need to integrate screenshots with an existing PHP application. When you're using a content management system such as WordPress, sticking with PHP to capture screenshots can flatten the learning curve and create a simpler management experience.
Taking Screenshots Using a Separate Node.js Application
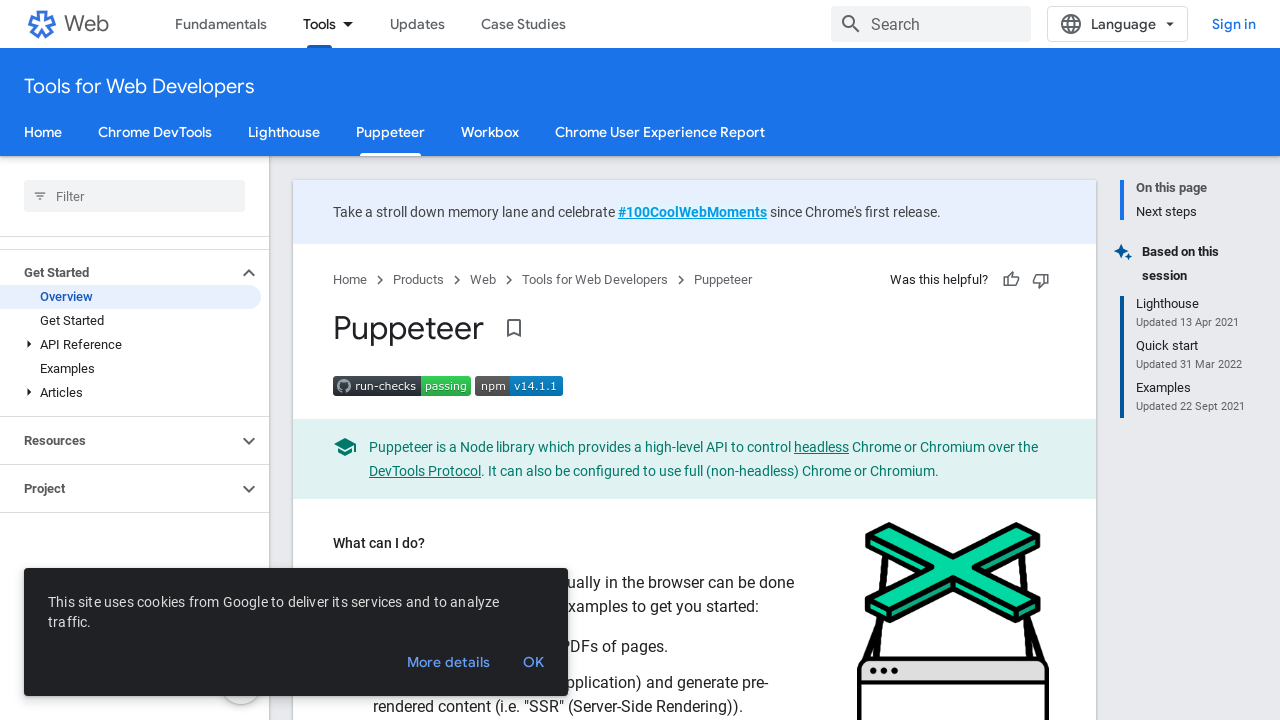
The canonical approach is arguably to rely on a separate Node.js application that uses a project like Puppeteer to remotely control a Chrome web browser installation. You can interface between PHP and Node.js using PHP’s exec() or shell_exec() functions.
Make sure you've got Chrome, Node.js, and PHP installed on your host machine before you continue. You'll begin by creating the Node.js application that will be used to launch Chrome and initiate new captures. Save the following code as screenshotWithPuppeteer.js:
const puppeteer = require("puppeteer");

(async () => {
  const browser = await puppeteer.launch({
    defaultViewport: {
      width: 1280,
      height: 720,
    },
  });

  const page = await browser.newPage();
  await page.goto(process.argv[2]);
  await page.waitForTimeout(10);
  await page.screenshot({ path: process.argv[3] });

  await browser.close();
})();
This simple script starts Chrome, opens a new tab, and navigates to a URL. It then waits for ten seconds before capturing a screenshot. The delay helps ensure the page's content will have loaded completely.
Use npm to install the puppeteer package before you run the program:
$ npm install puppeteer
Now you can capture a screenshot by supplying a URL and an output path to which the image will be saved:
$ node screenshotWithPuppeteer.js https://developers.google.com/web/tools/puppeteer puppeteer.png
Next you can write a PHP wrapper around your Node.js code:
<?php

// This will store the screenshot.js process exit code
$exitCode = null;

// Webpage URL to screenshot
$urlToCapture = "https://developers.google.com/web/tools/puppeteer";

// Execute screenshotWithPuppeteer.js to launch Chrome and create the capture
$result = exec(
    command: sprintf(
   	 "node screenshotWithPuppeteer.js '%s' '%s'",
   	 escapeshellcmd($urlToCapture),
   	 escapeshellcmd("captureWithPuppeteer.png")
    ),
    result_code: $exitCode
);

// Check the success status
if ($result && ($exitCode === 0)) {
    // The process succeeded
}
else {
    // An error occurred with the command
}

?>
Now you can run your PHP script to capture your screenshot:
$ php screenshotWithPuppeteer.php
This process works, but it's time-consuming to set up and maintain. It also bloats your environment with extra dependencies: you need Node.js and Puppeteer available before you can capture screenshots. Screenshot generation is only loosely integrated with your PHP application; it's dependent on screenshot.js being available, and your PHP code can’t directly influence the capturing behavior. Any future development will require modification of your Node.js code.
The advantage of this option is the relative ease with which you can build advanced custom tooling around your solution. Puppeteer is one of the most complete browser automation solutions, giving you full control over your Chrome browser instance. Community extensions are available to add frequently used functionality such as ad blocking and tracker evasion.
Taking Screenshots by Automating Chrome With Chrome-PHP
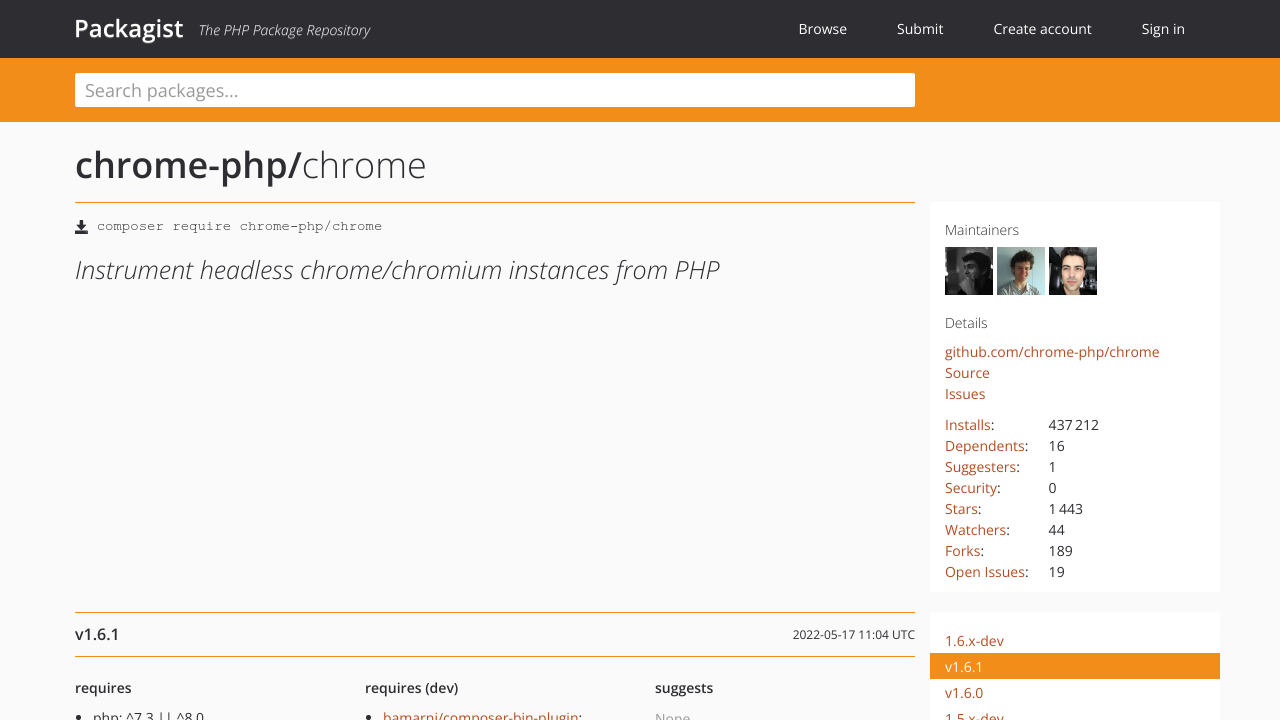
Chrome-PHP is a PHP package that provides Puppeteer-like control of Chromium browsers. Using this solution reduces your external dependencies to just Chrome or another compatible browser.
Use Composer to add the package to your PHP project:
$ composer require chrome-php/chrome
Now you can write code that's similar to the Node.js example above, but without leaving PHP:
<?php

require_once(__DIR__ . "/vendor/autoload.php");

use HeadlessChromium\BrowserFactory;

$browser = (new BrowserFactory()) -> createBrowser();

$urlToCapture = "https://packagist.org/packages/chrome-php/chrome";

try {

    $page = $browser -> createPage();
    $page -> setViewport(1280, 720);
    $page -> navigate($urlToCapture) -> waitForNavigation();

    $screenshot = $page -> screenshot();
    $screenshot -> saveToFile("captureWIthChrome.png");

}
catch (\Exception $ex) {
    // Something went wrong
}
finally {
    $browser -> close();
}

?>
Save the file as screenshotWithChrome.php, then run it using PHP:
$ php screenshotWithChrome.php
Now the code is contained within your PHP application, making it accessible to developers without JavaScript experience. The Chrome-PHP API is fairly approachable and self-documenting, making it clear what each step achieves. The example above starts a Chrome instance on the host machine, then navigates to a URL, waits for it to load, and finally generates the screenshot.
There's still significant complexity here, though. You need to understand the fundamentals of how Chromium remote control works, as Chrome-PHP is an abstract library that's not specifically focused on screenshots. You're responsible for establishing the correct procedure to produce the output that you need. Achieving common tasks like blocking ads and pop-ups is taxing, as you have to implement code from scratch. Identifying ad server domains to blacklist is notoriously time-consuming, requiring constant maintenance as distribution formats change.
Taking Screenshots With Browsershot
Spatie's Browsershot package has risen to prominence as one of the most popular methods of PHP screenshot generation. It's racked up over five million Packagist downloads.
Browsershot relies on Puppeteer, so you must have Node.js and the Puppeteer package already available in your environment. Follow the instructions on the Node.js website to download the correct distribution for your platform, then use npm to globally install Puppeteer:
$ npm install -g puppeteer
This will make it accessible to Browsershot. Next, add the Browsershot package to your PHP project using Composer:
$ composer require spatie/browsershot
Browsershot is purpose-built to simplify screenshot generation. You can start capturing images using simple PHP code like this:
<?php

require_once(__DIR__ . "/vendor/autoload.php");

use Spatie\Browsershot\Browsershot;

$urlToCapture = "https://spatie.be/docs/browsershot/v2/introduction";

$screenshot = Browsershot::url($urlToCapture);
$screenshot -> windowSize(1280, 720);
$screenshot -> save("captureWIthBrowsershot.png");

?>
Save the file as screenshotWithBrowsershot.php, then run your code to generate a screenshot:
$ php screenshotWithBrowsershot.php

The Browsershot library wraps Puppeteer to automate the browser startup, navigation, and capture procedure that was implemented manually in the first two approaches. There are several options that provide a degree of control over your screenshots.
Here's a snippet that sets a larger viewport size, dismisses any pop-up JavaScript alerts, and adds a delay before the screenshot is taken:
<?php

require_once(__DIR__ . "/vendor/autoload.php");

use Spatie\Browsershot\Browsershot;

$urlToCapture = "https://spatie.be/docs/browsershot/v2/introduction";

$screenshot = Browsershot::url($urlToCapture)
    -> windowSize(1920, 1080)
    -> dismissDialogs()
    -> setDelay(100)
    -> save("captureWIthBrowsershot.png");

?>
The fluent API and clear focus on screenshots makes Browsershot easy to work with and maintain. However, the initial set up process is still rather convoluted. Browsershot relies on Node.js and Puppeteer, and makes you install both of them yourself. These dependencies will bloat your environment and demand regular upgrading as new releases arrive.
Taking a Screenshot With Urlbox
Urlbox is a different approach to any of the three options we've seen above. Urlbox operates a remote screenshot capturing service that you can access via an API. It offers retina-quality images with an extensive selection of options, including seamless ad blocking and full-page capturing. The service provides the capture infrastructure for you, drastically reducing the set up and maintenance overheads in your own environment.
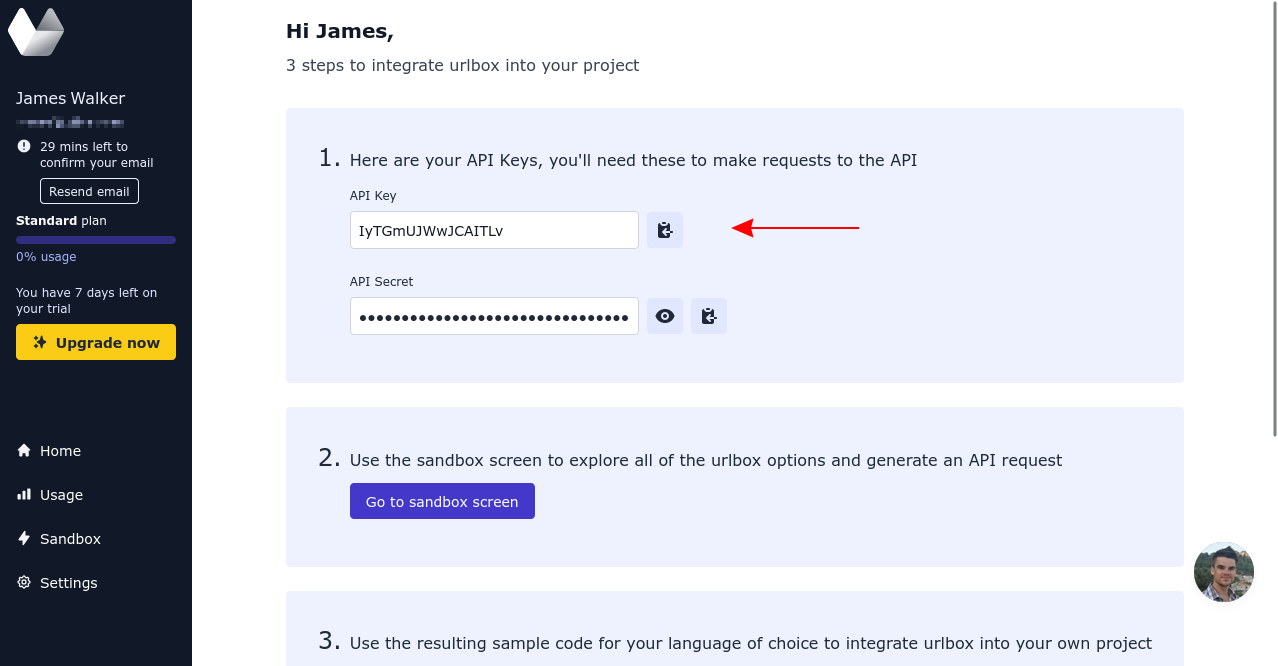
Urlbox is a paid service that offers a seven-day free trial. You'll need to create an account before continuing with this section. Once you're logged in, you'll see your API key and API secret displayed in your account dashboard. These values will be needed below.
Begin your integration by adding Urlbox's official PHP SDK to your project. This abstracts interactions with the API, making it even easier to create screenshots from your project's code:
$ composer require urlbox/screenshots
You're now ready to add Urlbox to your PHP application. The following sample code will produce a URL that can be used to load a screenshot of a specific webpage:
<?php

require_once(__DIR__ . "/vendor/autoload.php");

use Urlbox\Screenshots\Urlbox;

$urlToCapture = "urlbox.io";

$urlbox = Urlbox::fromCredentials("API_KEY", "API_SECRET");

$urlboxUrl = $urlbox -> generateSignedUrl([
    "url" => $urlToCapture,
    "width" => 1280,
    "height" => 720
]);

echo "<img alt='Screenshot of $urlToCapture' src='$urlboxUrl'>"

?>
Save the file as screenshotWithUrlBox.php, then run it using PHP:
$ php screenshotWithUrlBox.php
Replace the API_KEY and API_SECRET placeholders with the values displayed in your Urlbox dashboard.
The URLs returned by Urlbox's generateSignedUrl() method will look similar to this:
https://api.urlbox.io/v1/API_KEY/TOKEN/png?url=urlbox.io'
When you visit the URL, Urlbox provides the requested screenshot as an inline image that'll render within the <img> tag. You can save the image to a file by requesting the URL via an HTTP library such as Guzzle.
Add Guzzle to your project using Composer:
$ composer require guzzlehttp/guzzle
Then you can run the following code:
// <previous example omitted>
$urlboxUrl = $urlbox -> generateSignedUrl(["url" => $urlToCapture]);
(new \GuzzleHttp\Client()) -> request("GET", $urlboxUrl, ["sink" => "captureWithUrlBox.png"]);
Running the example will save a screenshot of the $urlToCapture URL to captureWithUrlBox.png in your working directory.
This approach solves the problems that cropped up repeatedly in the other solutions. Urlbox doesn't require JavaScript or a Chrome browser instance in your environment. This frees you up to keep writing PHP code without maintaining a companion Node.js application and Chrome installation.
Urlbox also simplifies customized screenshot captures by providing several built-in options. As an example, here's how you can produce a retina-quality, full-page screenshot:
$urlboxUrl = $urlbox -> generateSignedUrl([
    "url" => $urlToCapture,
    "width" => 1920,
    "height" => 1080,
    "retina" => true,
    "full_page" => true
]);
Urlbox's full-page screenshots are typically more accurate than those produced by a standard Puppeteer installation. The API incorporates unique measures to avoid common issues such as early cut-off, mid-page seams, and repeating sticky elements and scrollbars.
Urlbox can take screenshots of specific elements within a page, too. Use the selector option to supply a DOM selector identifying the specific node you want to capture:
$urlboxUrl = $urlbox -> generateSignedUrl([
    "url" => $urlToCapture,
    "selector" => "body > article section:first-child"
]);
You can view a complete list of supported options in the PHP SDK's documentation. Urlbox is also capable of blocking pop-ups, bypassing captchas, dismissing cookie banners, and loading webpages via a custom proxy server. These settings are configurable in your account dashboard, making them much easier to implement than with any of the other approaches shown above. Comprehensive ad blocking is only a few clicks away.
In addition to direct integration with PHP applications, Urlbox provides its own WordPress plug-in. This lets you embed screenshots in your PHP websites using WordPress shortcodes. SDKs are available for Node.js, Ruby, Python, Java, and C#, as well.
Conclusion
Applications often rely on automated screenshot captures to archive, index, and share web-based content. However coding a programmatic capture system from scratch is often laborious and time-consuming, especially when you're integrating with a system that’s not already written in JavaScript.
In this article, we've looked at four different ways in which PHP developers can handle screenshot captures. Out of these, maintaining your own Puppeteer installation is the most flexible, giving you complete control over the browser process. This is also the most complicated mechanism to set up and maintain.
Urlbox's PHP SDK maximizes ease of use, letting you work entirely in PHP without learning JavaScript or Puppeteer's API. This provides a scalable way to generate screenshots on demand. It has clear documentation and a robust set of image capture options.
