
There are many reasons why you would want to take screenshots. Suppose you want to demonstrate how to use a specific application to your users; rather than writing a lengthy document that might be prone to being misunderstood, you can take screenshots and highlight each step using text on the screenshots.
You can also take screenshots of your application at different stages during development. This process can be automated to make it more efficient.
You can also take screenshots of page content and make it shareable as opposed to sending links.
This tutorial will demonstrate how to take screenshots with Urlbox in a django application using the urlbox django package available here. We will also explore other alternative packages available for taking screenshots with Django
Urlbox is an API that allows you to render screenshots from URLs and HTML and manipulate them as best suited. Screenshots are rendered as PNG or PDF documents.
Urlbox does this through a simple GET synchronous API GET request which would look like this :
import requests
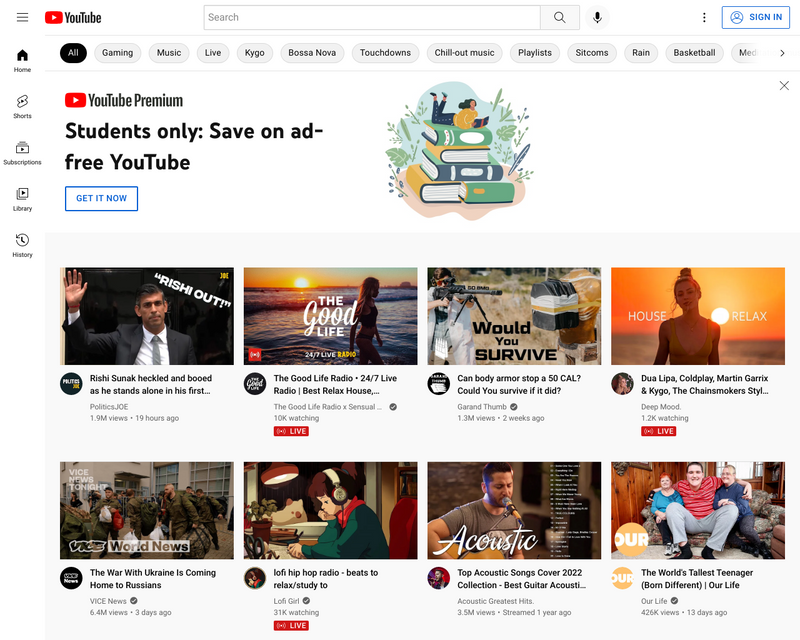
response = requests.get("https://api.urlbox.io/v1/api-key/format?options")Where options will be the url and any other customization you would want, for example, to get a full-page screenshot of https://youtube.comwith a width of 800, the resulting request would look like this:
import requests
response = requests.get("https://api.urlbox.io/v1/api_key/png?url=youtube.com&thumb_width=800")
with open("image.png", "wb") as f:
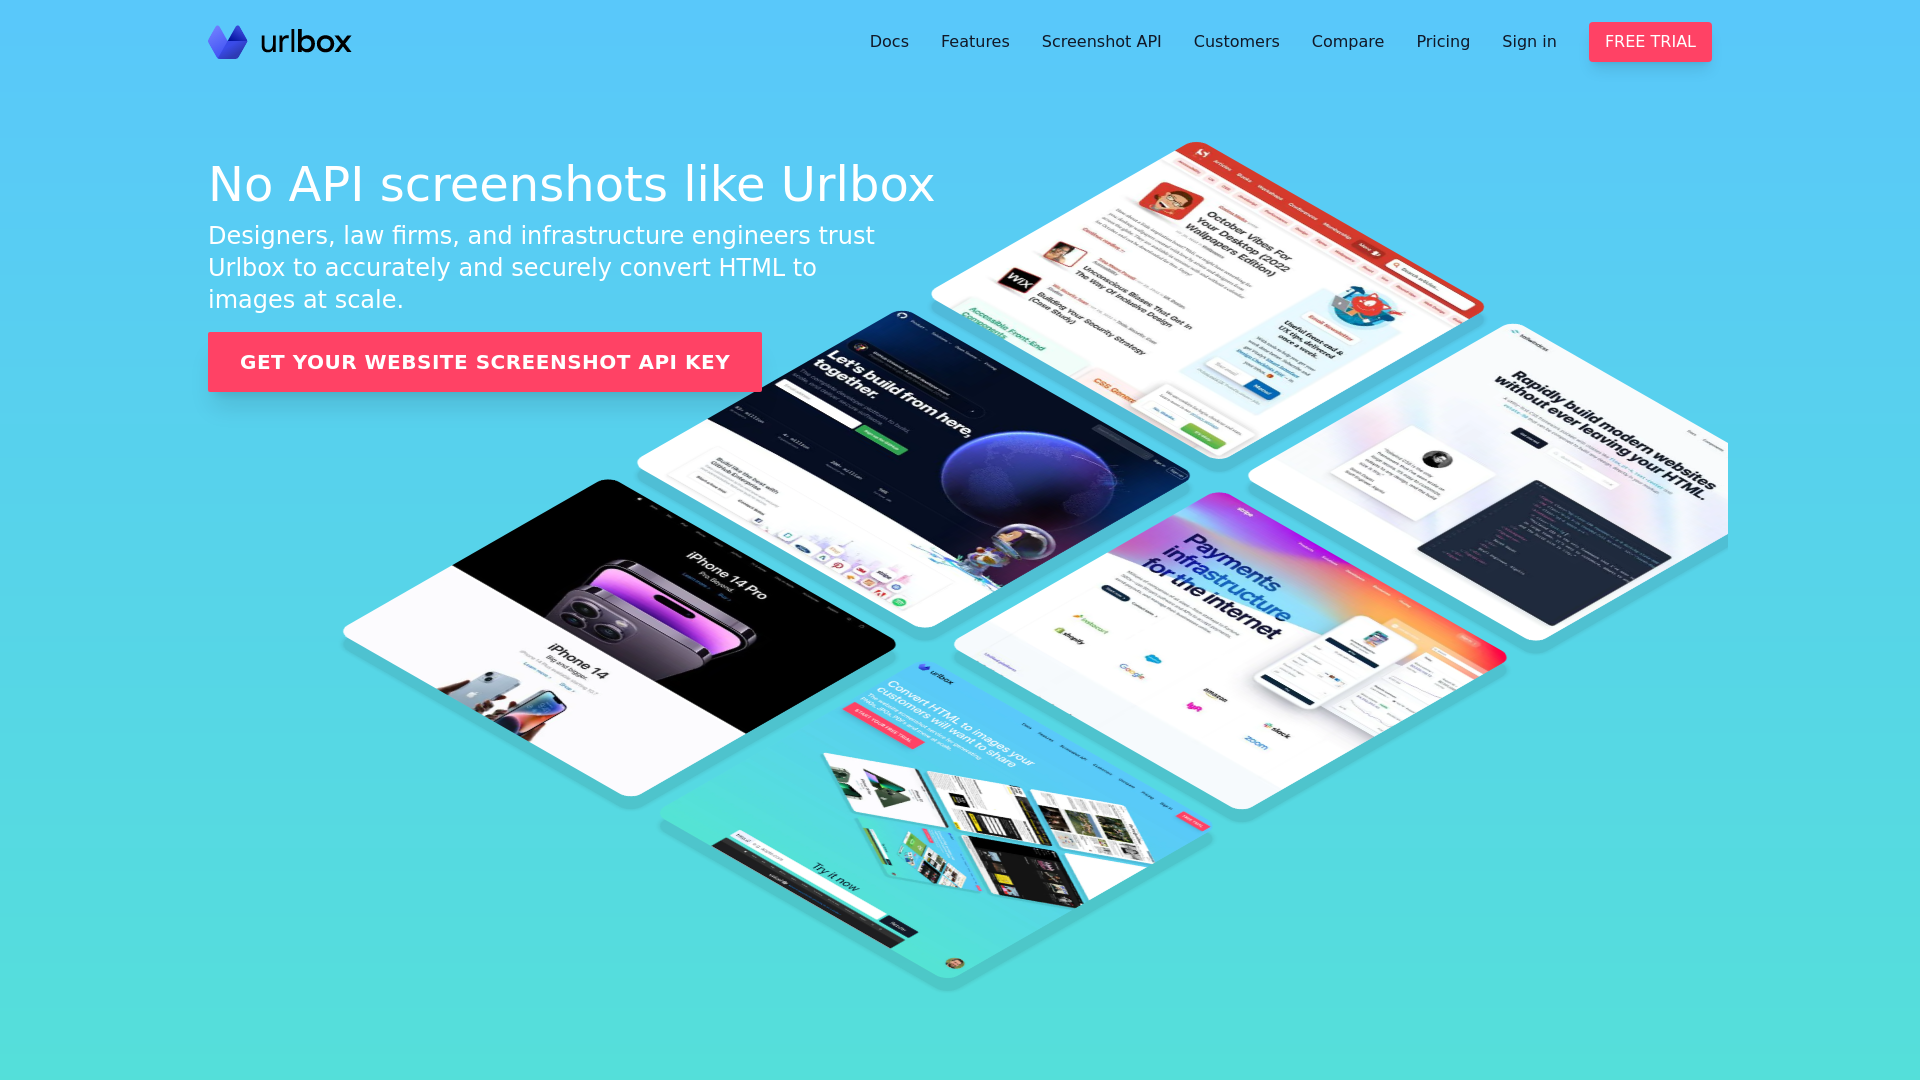
f.write(response.content)The resulting screenshot will look like this:
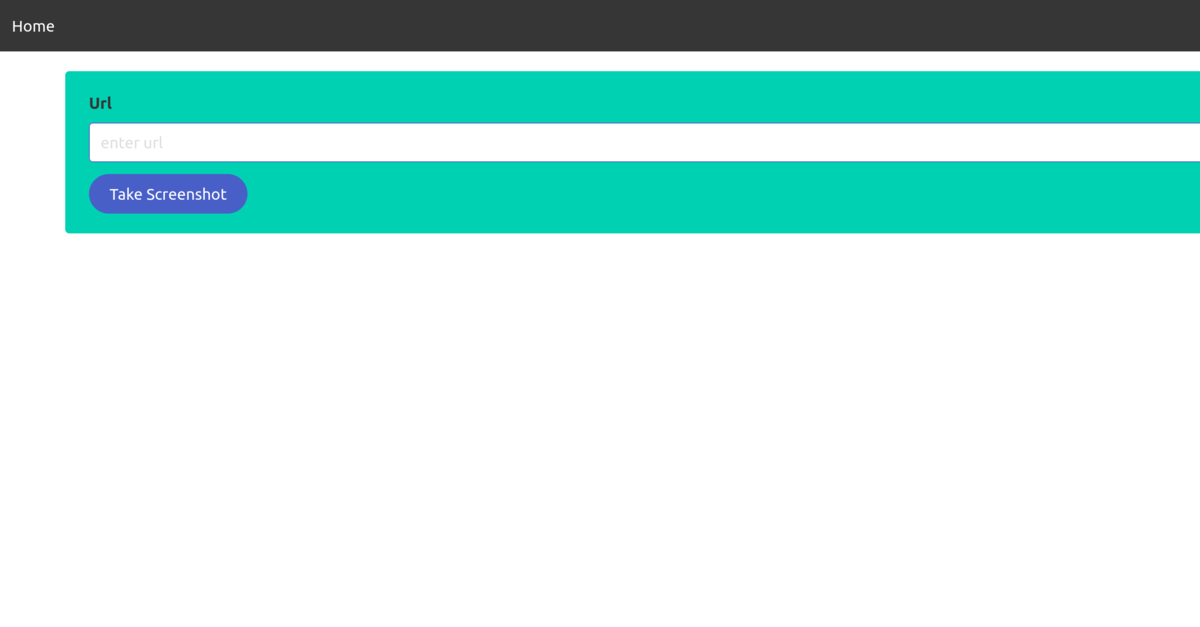
We will create a simple application that allows users to supply a url, and by clicking a button, the user will get a perfect screenshot captured by the Urlbox API. The application will look like this:
Project Setup
We will start by creating a root folder that will house all our project files. Create a folder called Screenshots in your preferred location.
mkdir ScreenshotsEnsure you have a virtual environment setup and django installed. Next, create a new Django project named django_screenshot.
django-admin startproject django_screenshotCreate a django app
Create a django app called screenshot in the root django_screenshots directory.
python manage.py startapp screenshotNext, add the app screenshot to the list of installed_apps in the settings.py file.
INSTALLED_APPS = [

  'screenshot', # add here

]
Create a new file urls.py in the screenshot directory and add the code below.
from django.urls import path
urlpatterns = [

]
Open the root urls.py file and modify it to include the screenshot app url configurations
from django.contrib import admin
from django.urls import path, include
urlpatterns = [
  path('admin/', admin.site.urls),
  path(' ', include('screenshot.urls')),
]
When a user submits a url, urlbox will generate a screenshot of the submitted url. Since we will deal with media files, we will use the default FileSystemStorage provided by Django. Add the necessary configurations for FileSystemStorage in the settings.py file.
MEDIA_URL = '/media/'
MEDIA_ROOT = os.path.join(BASE_DIR, 'media')
MEDIA_ROOT Is the file system path where media files are stored, while MEDIA_URL is the url for serving files stored in MEDIA_ROOT.
By default, during development, Django does not serve media files; to ensure we can serve the files from MEDIA_ROOT in development, add the following to the project urls.py file.
urlpatterns = [
  path('admin/', admin.site.urls),
  path(' ', include('screenshot.urls')),
]+ static(settings.MEDIA_URL, document_root=settings.MEDIA_ROOT) # new
Open the models.py file and define the following database fields.
class Screenshot(models.Model):
  url = models.CharField(max_length = 100 , blank = False,null = False)
  photo = models.ImageField(
    upload_to='images'
  )
The ImageField requires the Pillow library ,to install Pillow; issue the following command.
pip install PillowCreate and apply migrations
python manage.py makemigrations
python manage.py migrate
Urlbox API
To use the urlbox API, register for a free trial account with Urlbox here.
 After you register an account, you will get a confirmation email. Once you confirm your email, login to your urlbox account to obtain the api key and Api secret key.
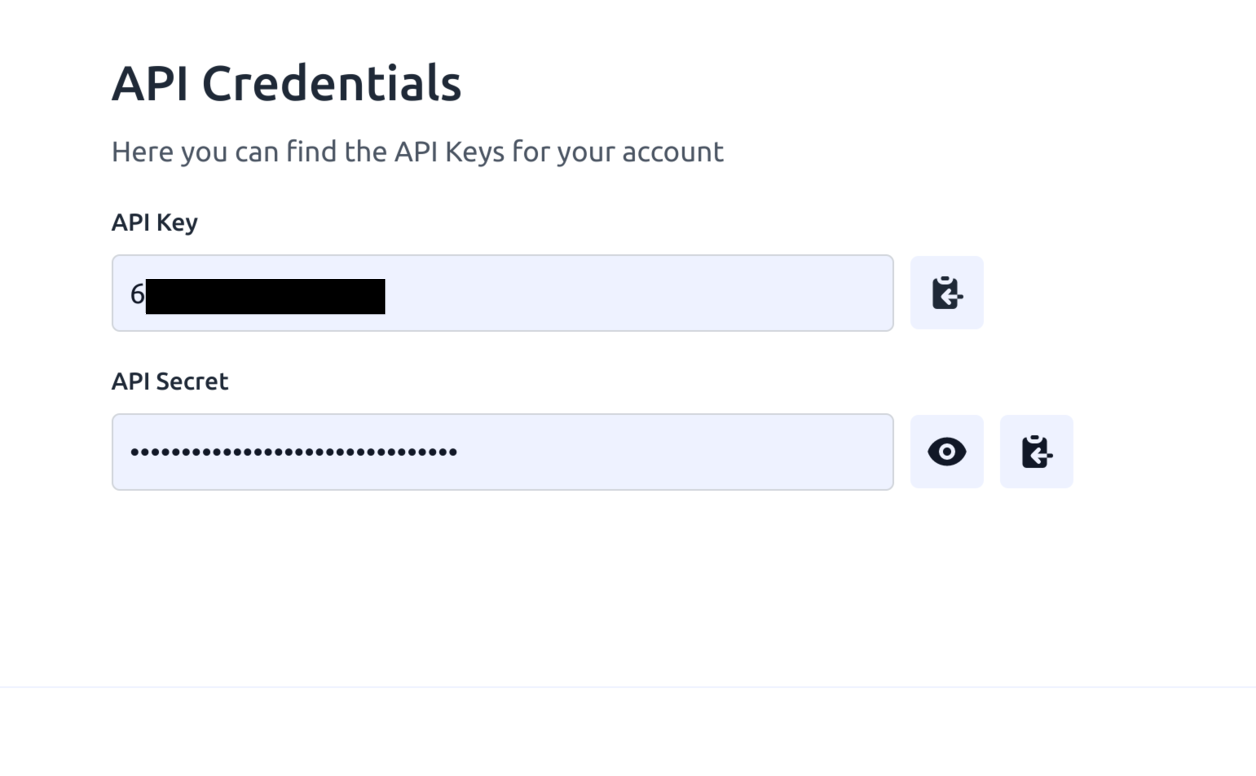 Please take note of your API keys, as we will use them to grant access when taking screenshots.
Next, install the urlbox package with pip.
pip install urlboxNext, go to the settings.py file and add the urlbox API_KEY and API_SECRET keys.
API_KEY='your_urlbox_API_KEY'
API_SECRET='your_urlbox__API_SECRET_KEY'
Take Screenshots UI Page
The first step is to create the view that will render the browser's screenshots page. Open views.py and create a function view that renders the template page.
from django.shortcuts import render
# Create your views here.
def index(request):
  return render(request, 'screenshot/index.html')
By default, django will look for templates in the template directory of the django app.
Let's go ahead and create the index.html file. In the screenshot folder, create a folder called templates; inside the templates folder, create another folder with the same name as the django app, i.e., screenshot. Inside the inner screenshot folder, create a file called index.html. The directory structure should look like this:
  screenshot/
         templates/
              screenshot/
                      -index.html
Inside the index.html file, we will add a form that accepts a POST method, and inside the form, we will have an input field that will pass data to the view. Add the following code to index.html.
<!DOCTYPE html>
<html lang="en">
  <head>
    <meta charset="UTF-8" />
    <title>Take Screenshots</title>
    <link
      rel="stylesheet"
      href="https://cdn.jsdelivr.net/npm/[email protected]/css/bulma.min.css"
    />
  </head>
  <body>
    <nav aria-label="main navigation" class="navbar is-dark" role="navigation">
      <div class="navbar-brand">
        <a class="navbar-item"> Home </a>
      </div>
    </nav>
    <div class="container">
      <div
        class="notification is-primary is-bordered"
        style="margin-top: 20px;"
      >
        <form action=" " , method="post">
          {% csrf_token %}

          <div class="field">
            <label class="label">Url</label>
            <div class="control">
              <input
                class="input is-link"
                name="url"
                type="text"
                placeholder="enter url"
              />
            </div>
          </div>
          <div class="control">
            <button class="button is-link is-centered is-rounded">
              Take Screenshot
            </button>
          </div>
        </form>
      </div>
    </div>
  </body>
</html>
Next, hook the view to a url, Open screenshot/urls.py file and add the route for serving the index view.
from django.urls import path
from .views import index
urlpatterns = [
  path('', index, name = 'index'),
]
Start the development server again and navigate to the index page. You should see something like this.
Our UI is complete; let's proceed to add the logic for taking a screenshot with the Urlbox API.
Open views.py and start by adding the necessary imports
from urlbox import UrlboxClient
from .models import Screenshot
from django.core.files.base import ContentFile
from django.conf import settings
Next update the index view as follows.
def index(request):
  if request.method == 'POST':

    user_url = request.POST['url']
    urlbox_client = UrlboxClient(api_key=settings. API_KEY, api_secret= settings.API_SECRET)
    response = urlbox_client.get({"url": user_url})
    myfile = ContentFile(response.content)
    screenshot_instance = Screenshot(url = user_url)
    screenshot_instance.photo.save('image.png',myfile )

    return render(request, 'screenshot/index.html', {'img':screenshot_instance})
  return render(request, 'screenshot/index.html')
In the index function above, if the request method is POST, we do the following:
-
user_url = request.POST['url']- fetches the url submitted by the user -
urlbox_client = UrlboxClient(api_key=settings. API_KEY, api_secret= settings.API_SECRET)- initialises the UrlboxClient -
response = urlbox_client.get({"url": user_url})- makes a request to the Urlbox API with a url as a parameter -
myfile = ContentFile(response.content)- saves the content of the response(binary screenshot data) to a ContentFile object -
screenshot_instance = Screenshot(url = user_url)- creates a Screenshot model instance with a url attribute -
screenshot_instance.photo.save('image.png',myfile )- saves the screenshot_instance to the database as a file -
return render(request, 'screenshot/index.html', {'img':screenshot_instance})- serves the index page and passes the saved screenshot_instance to the template.The Urlbox API might take some time to return the screenshot; therefore, in production, it's advisable to perform the API call in the background and display a waiting message to the user.
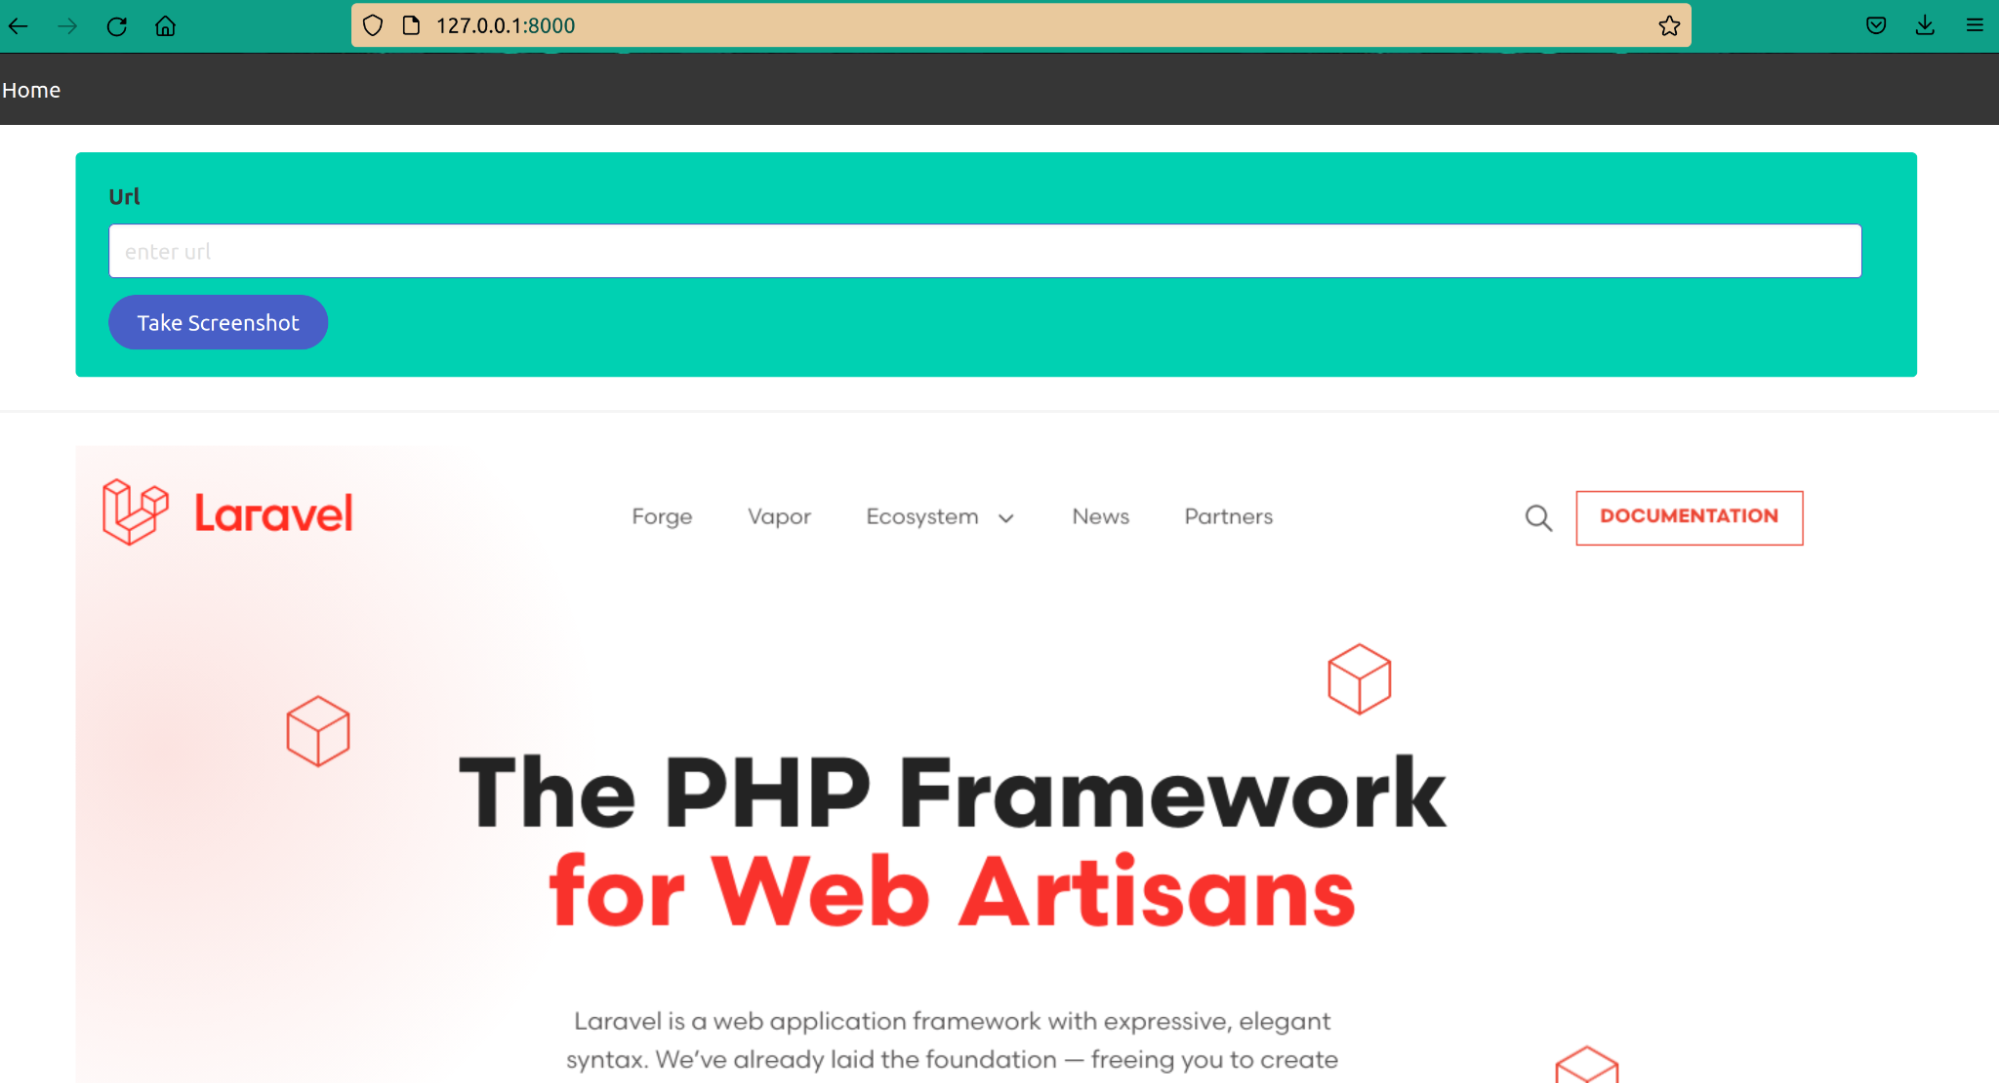
Once the user submits the url, we also return a response containing the captured screenshot. Update the
index.htmlpage and pass thescreenshot_instancevariable as follows.<div class="container"> <img src="{{ img.photo.url}}" /> </div>Here is a screenshot captured.
Urlbox also gives you more options to customize your screenshots; for example, you can customize the image format and size of the image by adding additional options to the API. For example, if you need to get a full-page screenshot in the webp format, your API will look like this:
response = urlbox_client.get({"url": user_url,"full_page": True,"format":"webp"})Here is a full-page screenshot in jpg format
Blocking ads and banners
Suppose you need to take a screenshot from a url that contains ads or banners. Urlbox allows you to add an Adblock filter. For example, here is a screenshot of a url that has a lot of ads.
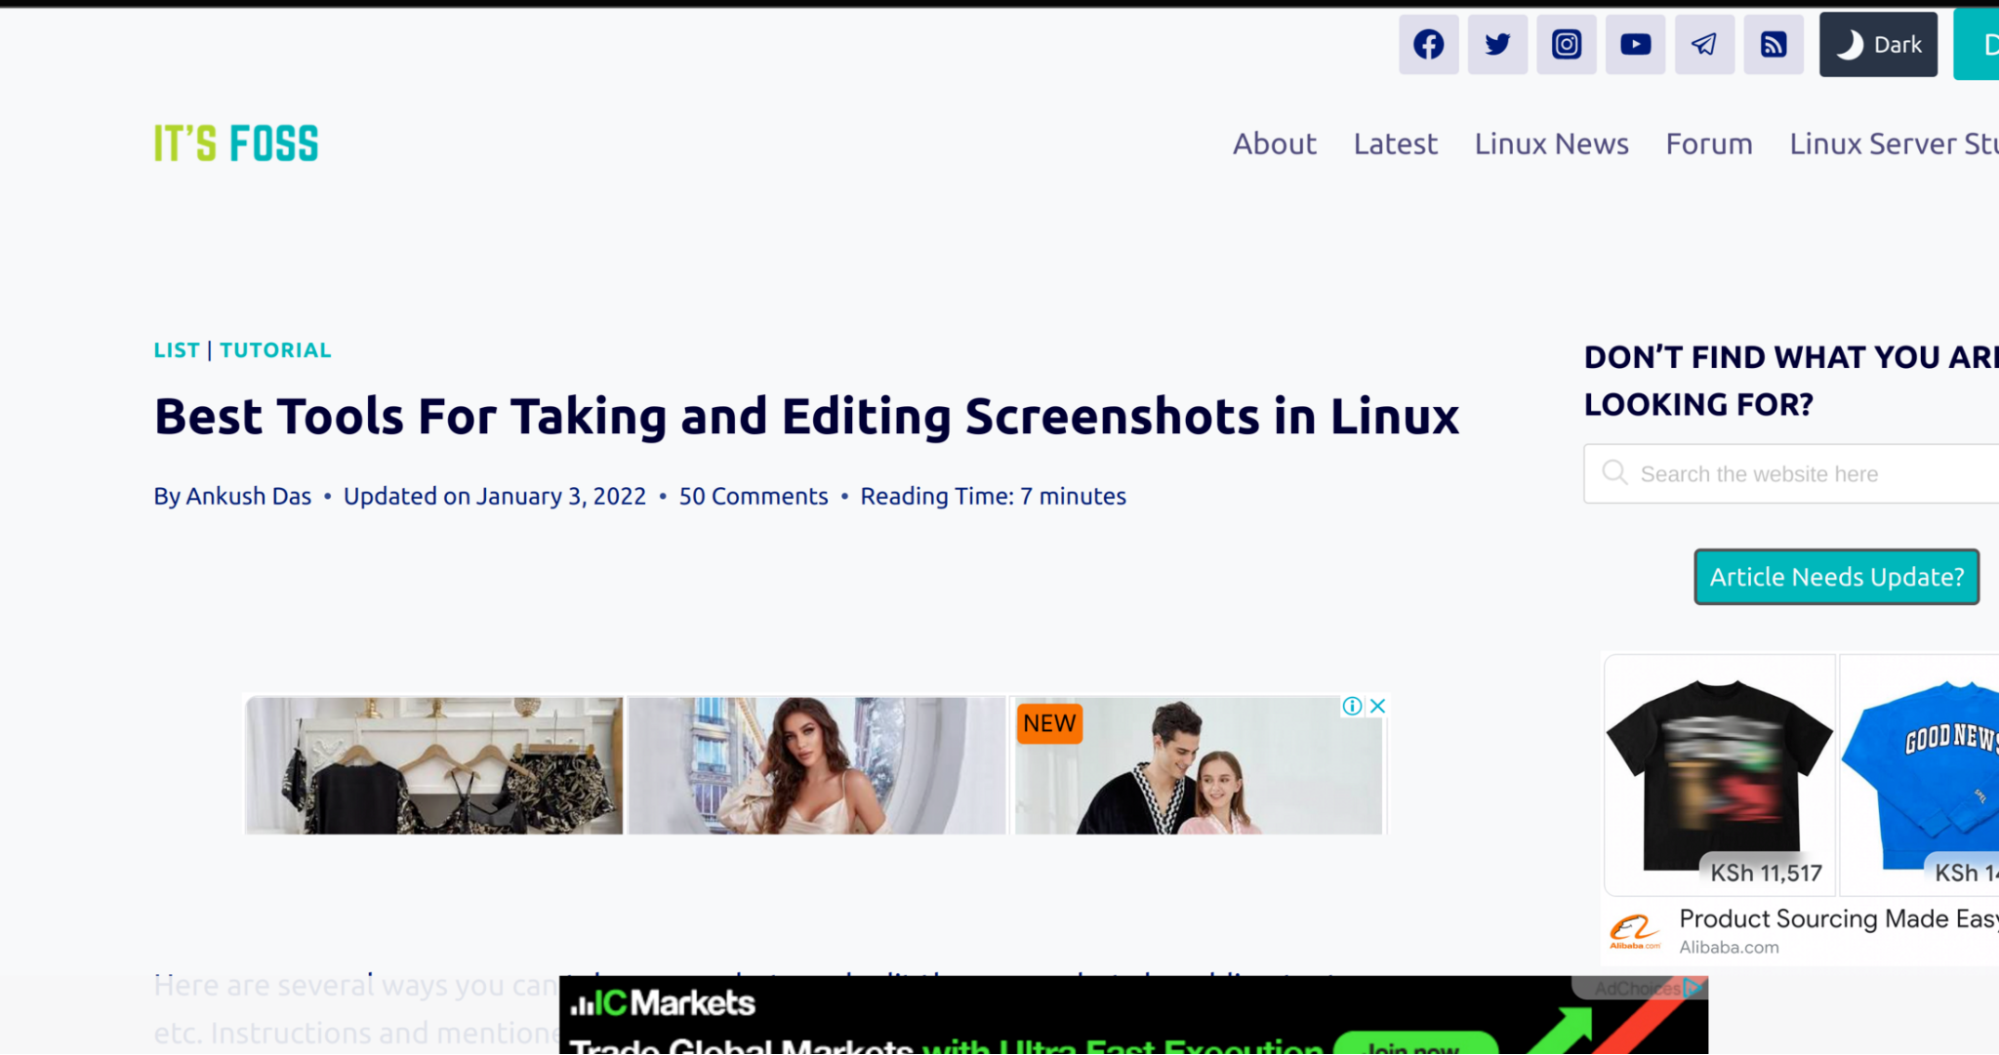
Let's test the same url with Urlbox,Update the API call as follows:
response = urlbox_client.get({"url": user_url,"block_ads": True})Below is the output of the same page with ads blocked using Urlbox API
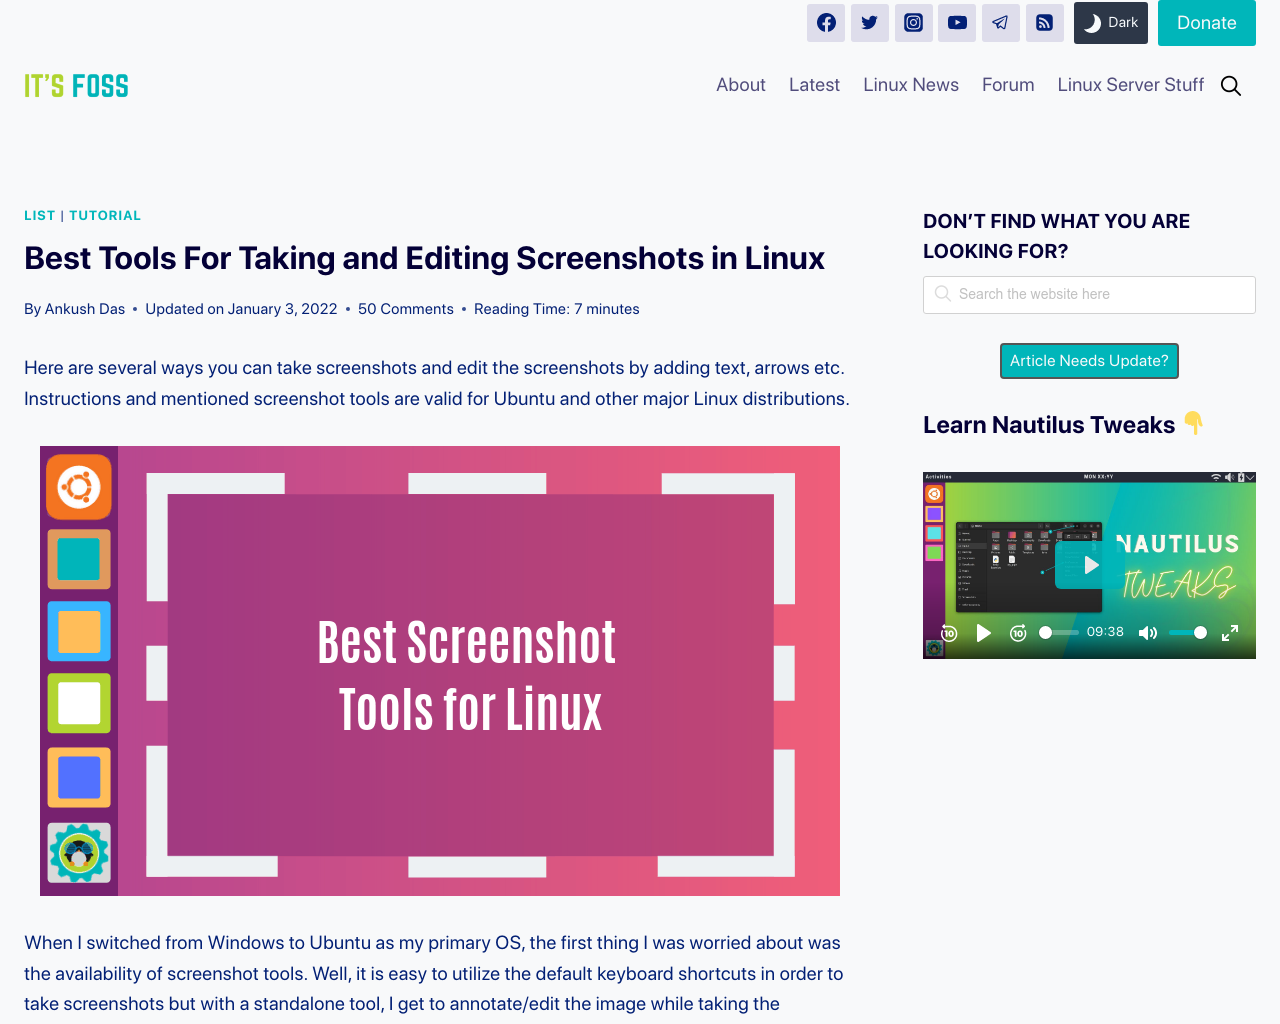
As you can see, Urlbox automatically block ads from appearing in your screenshots and hides any cookie banners as well
How to save media files on Amazon S3
Urlbox also provides the option to save your media files on Amazon Simple Storage Service . To do that, you need to have an Amazon S3 account, sign up for S3 storage and create an Amazon S3 bucket.
Once you create an Amazon S3 bucket, assign a user and you should obtain an Access Key ID and a secret Access key.
Next, login to your Urlbox account and setup S3 configurations as shown below

Once that is setup, Urlbox will automatically render your files directly to an S3 bucket.
Advantages of using Urlbox
Urlbox is easy to set up and doesn't require a lot of configurations. The API is straightforward and gives you many options for customizing your screenshots.
Urlbox also offers good-quality screenshots and the ability to automate website screenshots on a schedule.
You can also set the image quality and produce images with transparent and dark mode backgrounds, among other excellent features.
Alternatives to Urlbox
Urlbox offers alot of features , however there are still other alternatives for taking screenshots with Django such as:
-
Pyautogui
-
HTML2Image
-
Pillow
pyautoguimodule
pyautogui is a Python automation module that allows you to perform certain functions such as taking screenshots, locating an application window, displaying alert and message boxes, e.t.c
Using the screenshot app we created above, we will demonstrate how to take screenshots with the pyautoguimodule
To use the pyautogui module, we first need to install it using pip.
pip install pyautoguiYou will aslo need to have the Pillow library installed. If you are using linux, install the
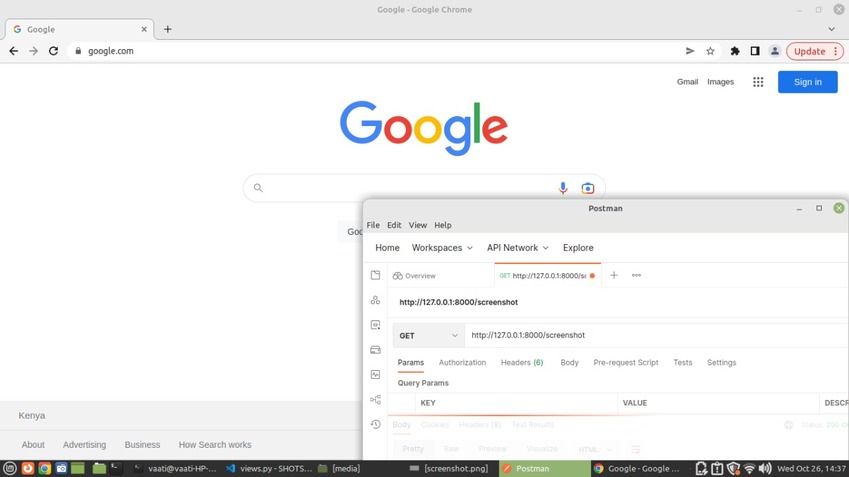
crotcommand as well.sudo apt-get install scrotNext, create a take_screenshot view function in
views.pyand add the code below.import io import pyautogui from django.core.files.base import ContentFile def take_page_screenshot(request): screenshot = pyautogui.screenshot() image_byte_obj = io.BytesIO() screenshot.save(image_byte_obj, 'PNG') byte_img = image_byte_obj.getvalue() image_instance = Screenshot() image_instance.photo.save('img.png', ContentFile(byte_img) ) return redirect("/")The code above does the following:
screenshot = pyautogui.screenshot()- takes a screenshot of the current screen and returns an image in PillowPngImageFileformat .image_byte_obj = io.BytesIO()- creates aBytesIOobject.screenshot.save(image_byte_obj, 'PNG')- Saves the Pillow image in memory as a bytes-like object.byte_img = image_byte_obj.getvalue()- gets the value of the image bytes object.image_instance = Screenshot()- Creates a Screenshot model instance.image_instance.photo.save('img.png', ContentFile(byte_img) )- converts the bytes image object to File format and saves it to the file directory specified in settings.py file.
Hook the view to the urls.py file.
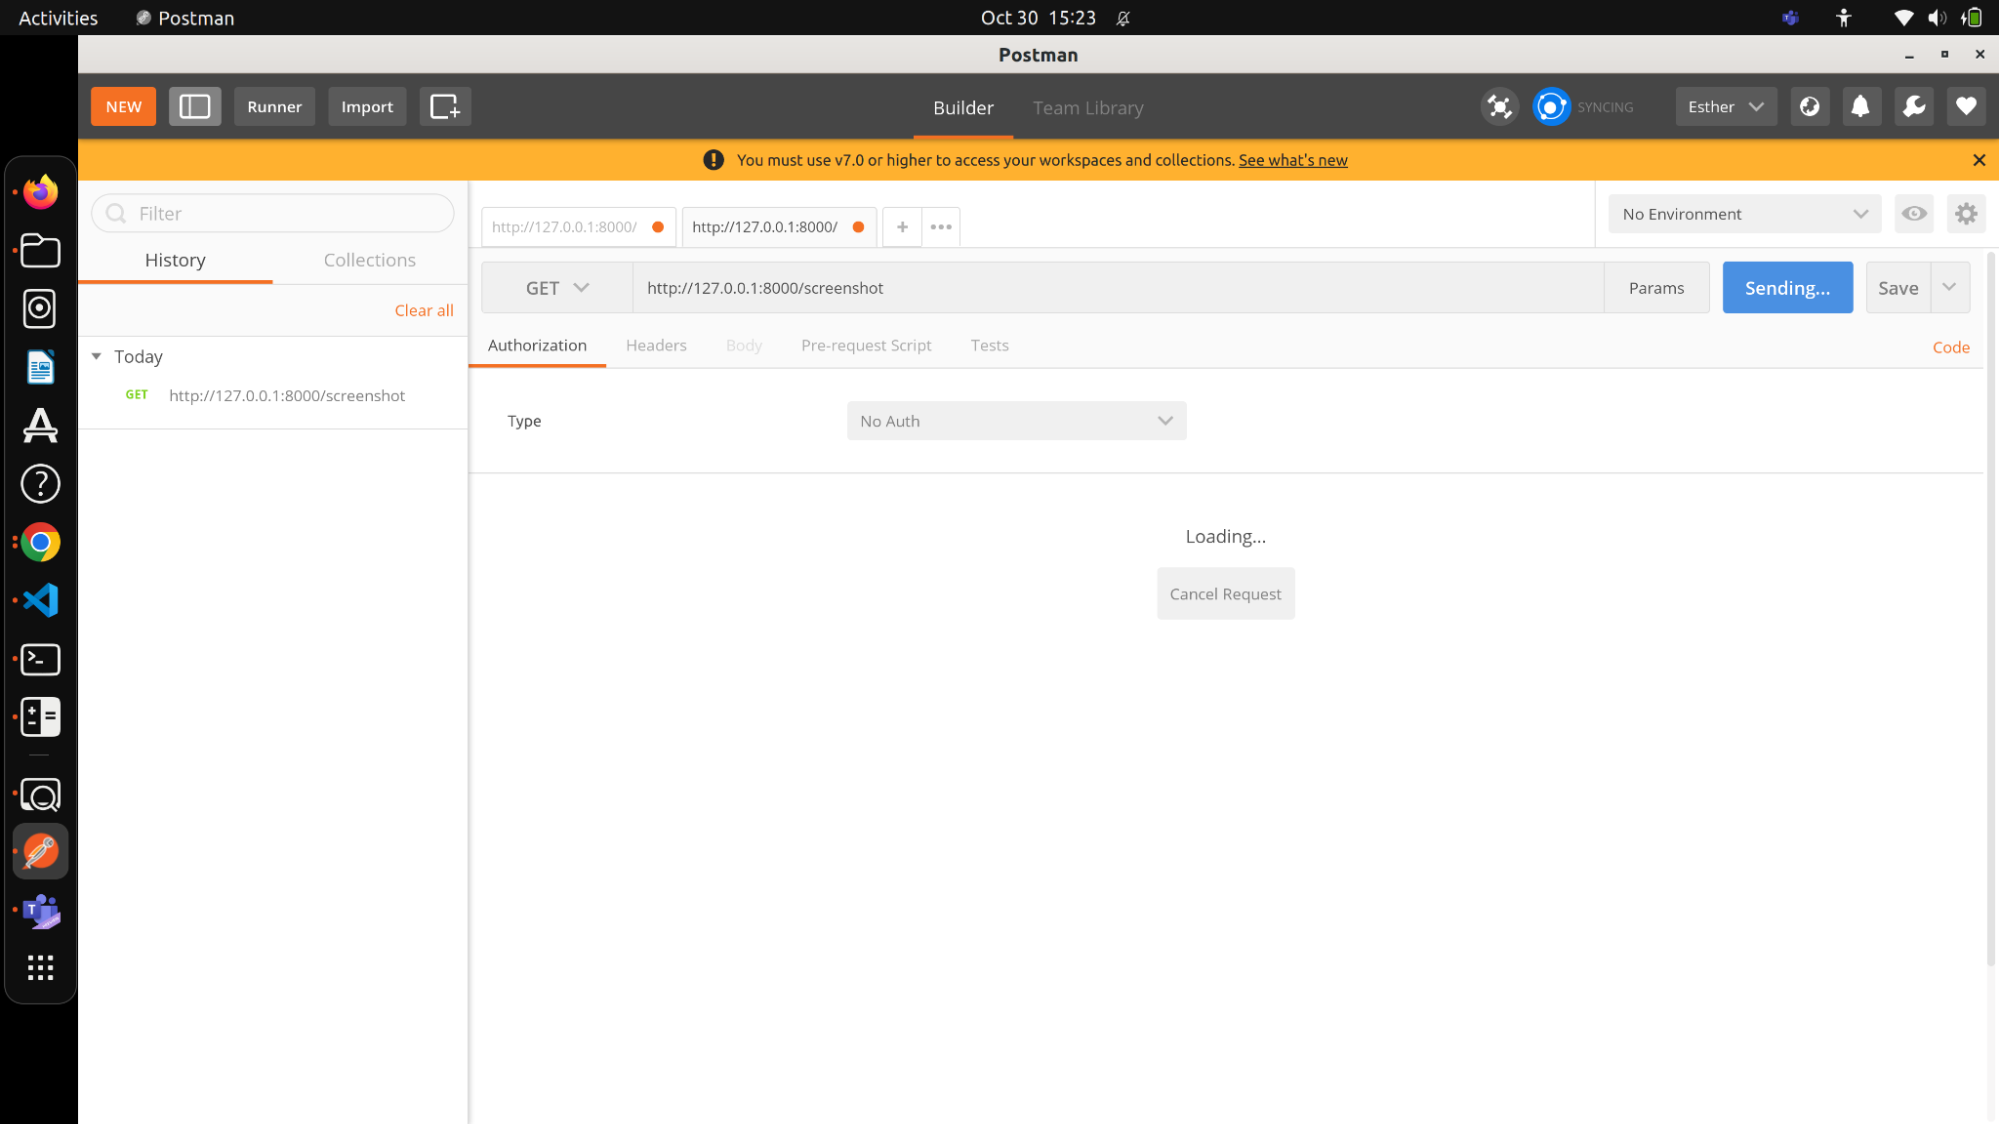
from .views import take_page_screenshot
urlpatterns = [

  path(page, take_page_screenshot, name = page),
]
If you run the endpoint, (at http://127.0.0.1:8000/page) it will generate the screenshot below.
A major drawback of taking screenshots with pyautogui is that it doesn't allow you to specify a particular width or height.It does not block any ads or banners, and you will also be required to perform other tasks, such as cropping out the intended image.
Pyautogui is also limited to the current screen and will not take screenshots of a particular Url.
It also doesn't give you the option to customize your screenshots. For example, if you need to take a full-page screenshot of the app you are building to showcase its features, pyautogui can't do that since it's restricted to the current page.
Another drawback of using pyautogui is that it relies on a GUI to take screenshots and therefore is not a reliable way to take screenshots in a production environment.
HTML2Image
html2image is a lightweight python package that provides a wrapper around the headless mode of most browsers by converting urls to screenshots. Issue the following command to install html2image.
pip install html2imageNext, open views.py file and add the following code.
from html2image import Html2Image
from django.core.files.base import File
def html_to_image(request):
  hti = Html2Image(size = ( )
  img =hti.screenshot(url='https://urlbox.com/', save_as='img.png')
  image_instance = Screenshot()
  image_instance.photo.save('image.png', File(open(img[0], 'rb')) )
  return redirect("/")
The code above does the following:
-
from html2image import Html2Image- imports the html2image module -
hti = Html2Image()- creates an instance of the html2image module -
img =hti.screenshot(url='https://urlbox.com/', save_as='img.png')- use thescreenshotmethod of the html2image module to take a screenshot of the specified url and returns the path to the screenshot. -
image_instance = Screenshot()creates a Screenshot model instance -
image_instance.photo.save('image.png', File(open(img[0], 'rb')) )- saves the captured screenshot as an image file to the media folder specified insettings.pyfile
Here is the resulting screenshot.
HTML2Image also allows you to set the size of the screenshot, for example, if you need a custom size, you would specify it as follows,
hti = Html2Image(size = (850,400))HTML2Image only supports the chrome browser at the moment
Pillow
Pillow is an imaging library that adds image-processing capabilities to your Python interpreter. Pillow provides the ImageGrab module, which grabs the contents of a screen and saves it in
PngImageFileformat.Ensure you have Pillow installed
Update views.py as follows:
from PIL import ImageGrab
def take_screenshot(request):
  screenshot = ImageGrab.grab(bbox = None)
  image_byte_obj = io.BytesIO()
  screenshot.save(image_byte_obj, 'PNG')
  byte_img = image_byte_obj.getvalue()
  image_instance = Screenshot()
  image_instance.photo.save('image.png', ContentFile(byte_img) )
  return redirect("/")
The code above does the following:
We first import the
ImageGrabmodule from Pillow, then use thegrab()method to take a screenshot of the current screen. The resulting PIL image is then converted to a bytes-like object and saved to the file directory specified in the settings.py file.Here is the captured screenshot.
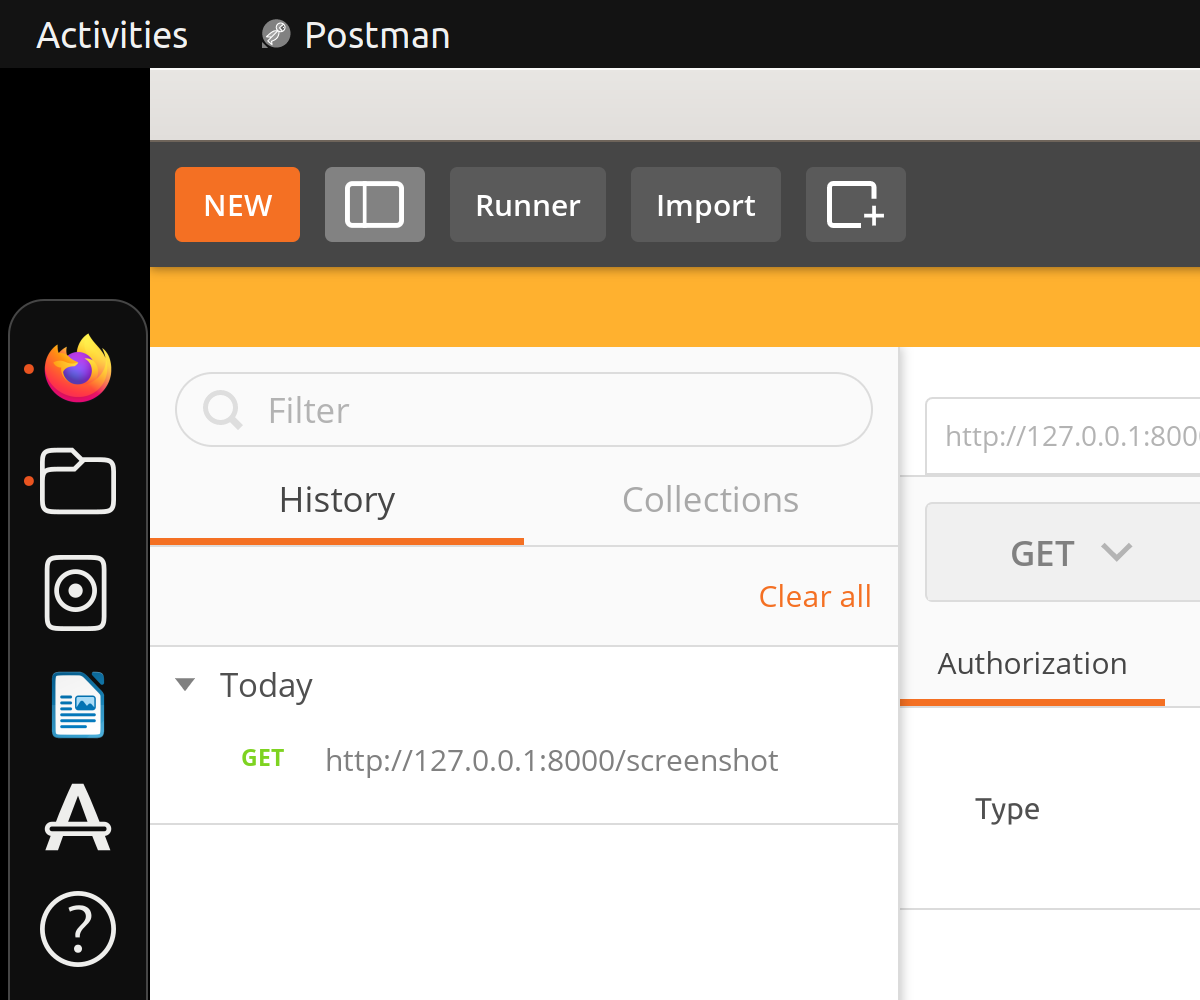
If you need to grab a certain part of the screen, you can specify as follows:
screenshot = ImageGrab.grab(bbox = (0, 0, 1200, 1000))Here is the customized sized screenshot.
If you have multiple screens, you can capture them as follows:
screenshot = ImageGrab.grab(all_screens=True)Multiple screens option is, however, only supported in windows.
Conclusion
This tutorial covered how to take screenshots with the Urlbox API and explored other options such as Pillow, pyautogui, and HTML2Image. Now you have great options for taking screenshots of your Django application.
